Mana ConfluenceMana Confluence | art by Howard Lyon
Article 1: How to Build a Commander Deck | Article 2: How to Choose Your Commander | Article 3: How to Win a Commander Game |
Hello there, and welcome to the world of Commander, Magic: The Gathering's most popular format! My name is Brian, and I aim to be your guide for navigating this format that we at EDHREC know and love so much.
In this series, we're focused on helping out players new to the format get started. If you missed the previous articles, make sure to check out the links above.
Today, we're talking about mana curves. What is a mana curve, why it's important, how to examine your deck's curve, and what to keep in mind when you're adding or removing cards.
What is a mana curve?
If you're new to the game, you may have not heard of a mana curve before. A mana curve is the distribution of mana values of the nonland cards in your deck.
If that still doesn't make sense, that's okay. It's much easier to visualize. Here's the mana curve of a deck recently featured in my other series, Brew For Your Buck:
Much better. You can see the "curve" on the graph, with most of the cards clustered in the 2-4 mana range.
Why does it matter?
Okay, so who cares? You should! Having a well-structured mana curve means you will be able to play out your cards, making your deck more effective, meaning you'll win more, which is ultimately more fun! I often see newer players struggle in games because they can't play enough of their cards.
It's a frustrating experience for them, and takes away from the dynamic gameplay of a multiplayer format, making it less fun for the rest of the table.
Here's another way to think about it: Let's assume that the average game of Commander lasts about 12 turns. How many five mana cards are you reasonably going to play in those 12 turns? Better yet, how many total cards will you see during the game? It's probably less than you think.
Adjusting your mana curve to maximize the effectiveness of your deck is one of the most important deckbuilding decisions you can make.
Commander Matters
There are many different ways and reasons to adjust your mana curve, and as usual, it starts with your commander. There are two reasons: 1) you probably want to cast your commander as soon as you get to that point in the curve, and 2) your commander's abilities will affect the other decisions around your mana curve. Let's take a look at two of my personal decks:
The mana curves for these two decks are wildly different. The first one is weighted heavily towards mana value 1-3, while the second has a huge spike after six mana. Why? It's all about the commanders.
RoseRose wants me to attack all three of my opponents so I can make the max amount of Junk tokens, so I focused on cheap creatures for turns one through three so that by turn four, I can cast Rose and get the maximum benefit.
Meanwhile, BelbeBelbe (with the help of some key one drops) can pretty easily generate six mana as early as turn two, so I want to have plenty of Eldrazi haymakers to cast way ahead of schedule.
Despite the big difference in the mana curves, in both cases you can see the importance of the commander's mana value, and the resulting mana value of the cards around it. I love these examples since they showcase the extremes of how your mana curve can change based on the commander.
Nuts and Bolts
Okay, hopefully you've got the concept down, so let's get into some actionable things to consider during your deckbuilding:
In general it is better to lower your curve where you can.
Belbe in the example above shows that doing so is not always the case, but if you're just starting out, keeping your curve low will yield the fastest results. There is a reason why Rampant GrowthRampant Growth is played in nearly 810,000 decks and Natural ConnectionNatural Connection is played in only 6,000.
Putting a bunch of 6+ mana cards in your deck might seem fun and powerful, but if you can only cast two of them in a game, drawing a bunch of them isn't very effective. Look for cards that do something similar but for less mana.
Concentrate the majority of your cards between 2-4 mana.
There are a lot of effective cards printed in this mana value range that can really swing the tide of the game. Keeping your cards in this range will also open up a lot more options during gameplay and let you react to different game scenarios.
If you're at five mana, you can cast two 2-drops, a 4-drop, or cast your three mana commander like VadrikVadrik and hold up a two mana CounterspellCounterspell to protect it.
Make sure your high mana cards are impactful
On the flip side, when you do play one of your higher mana value cards, make sure it's something that's extremely impactful. A generic example is Cyclonic RiftCyclonic Rift, which will send opposing boards back to the stone age.
Something a little more niche might be Terror of the PeaksTerror of the Peaks in your Miirym, Sentinel WyrmMiirym, Sentinel Wyrm deck.
Consider the "actual" mana value of your cards
Many cards that are commonly played in Commander have cost reduction effects attached to them. The most common example of course is Blasphemous ActBlasphemous Act. It will show up on your curve as an 8+ mana card, but in reality you can cast it for a lot less than that.
Meanwhile, an X spell like Hangarback WalkerHangarback Walker will show up as zero mana value, but you probably won't be casting it for no mana since it will insta-die.
An advantage of X spells is that they can slot in at multiple spots on the curve, but consider them at the mana value you'll be casting them most often.
Look for cards with "multiple" mana values
Similar to the last point about X spells, there are also cards that have "multiple" mana values. These cards are often powerful because of their flexibility.
One of my favorite card types, Adventures, are a good example. Virtue of PersistenceVirtue of Persistence is considered a seven mana card, but it helps offset its high cost by having Locthwain Scorn as a mode you can cast early while you wait to get there.
The mana value of split cards like Wear // TearWear // Tear is equal to the mana value of both halves (three in this case) but you can cast either (or both in this case) half for less than that.
Mana Curve Tools
Now that you've got those mana curve concepts in your tool belt, you can apply them to your deckbuilding. The last thing to touch on are the tools available to help you mana all of these numbers. Look no further than Archidekt.
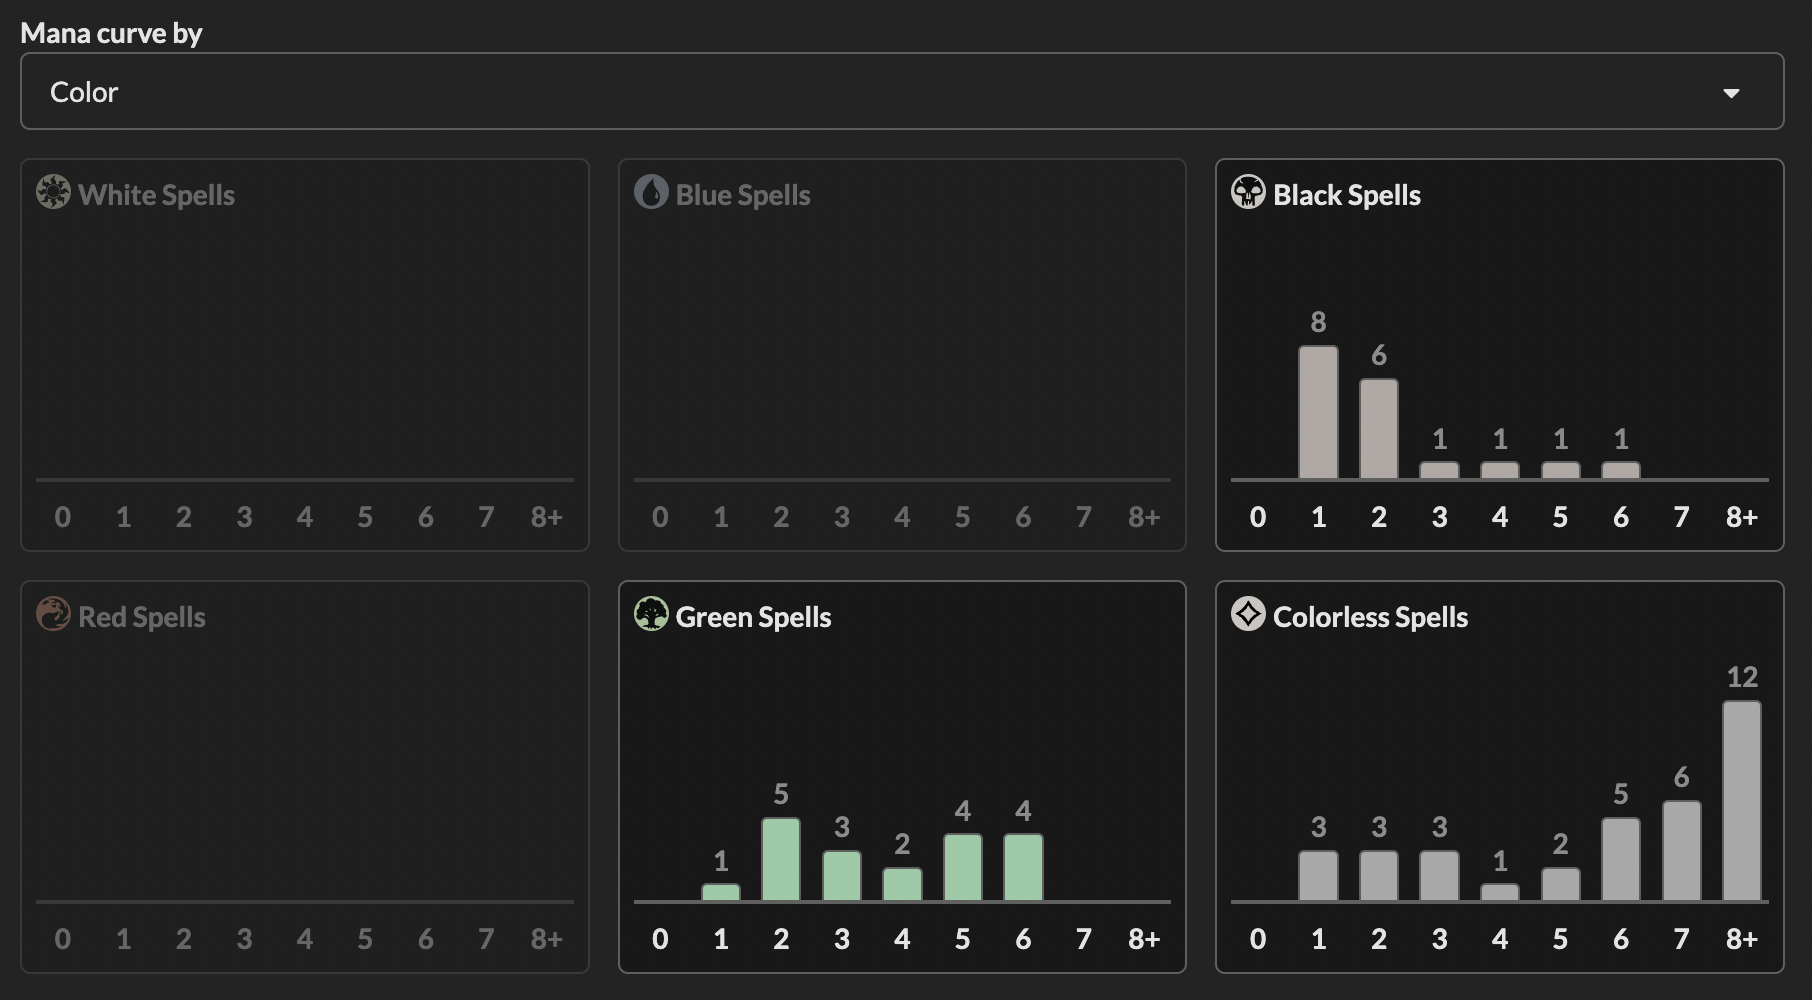
The graphs I included above all game from my lists from Archidekt. Those screenshots are just of the basic and general mana curve, which is where you should focus your attention early. As you become a more experienced deckbuilder, you can dive even deeper, including filters by color...
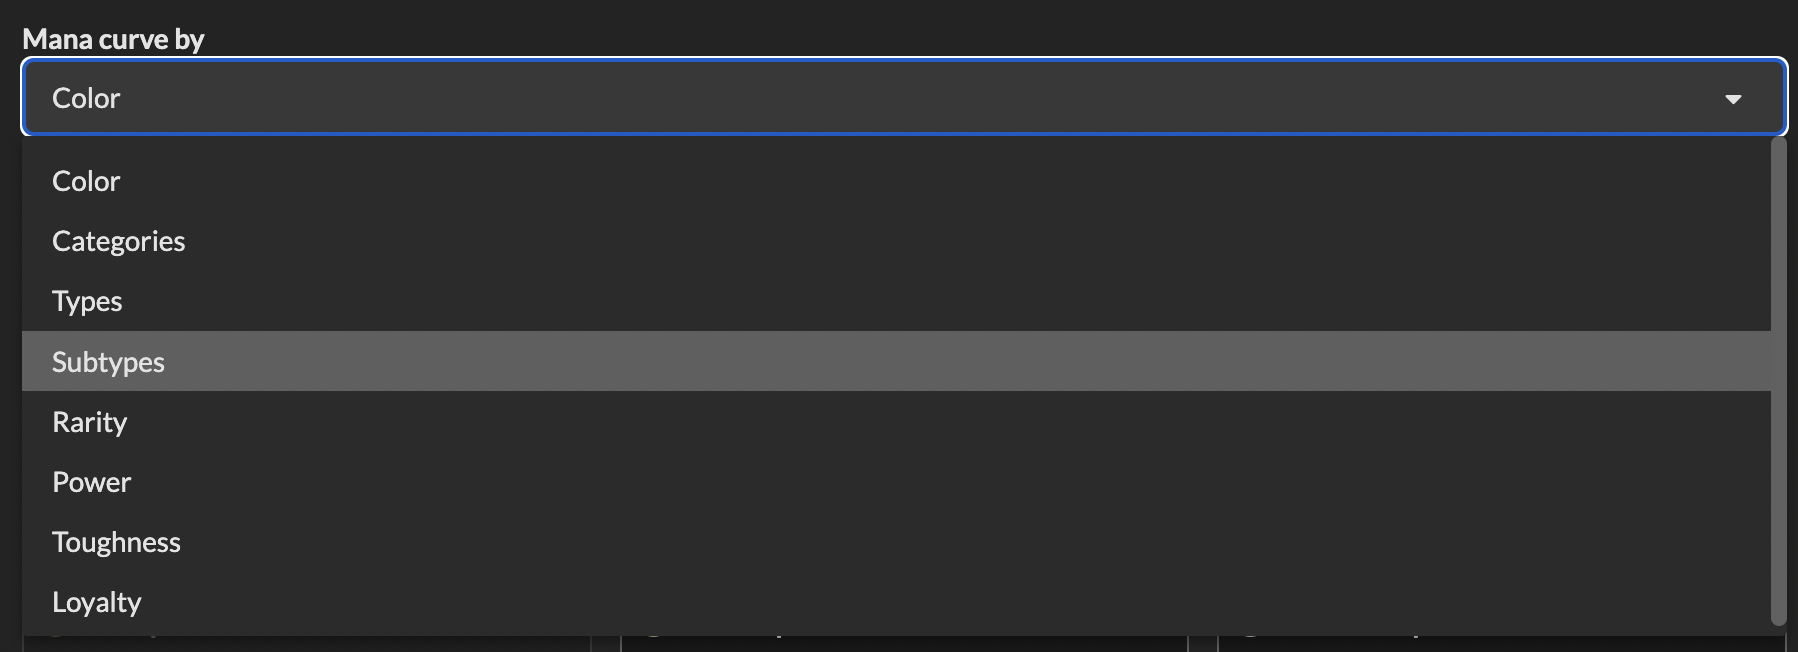
...or by any number of other options, including personalized categories if you make them:
If you have a deck that you feel like isn't firing on all cylinders, try plugging it into Archidekt and seeing what the mana curve section reveals. You might be surprised at the results, and you'll have a good starting point for improving your mana curve if necessary.
Wrap Up
Whew! We covered a lot today, and I hope it wasn't too overwhelming. The idea of a mana curve is really important for our game, and not just in Commander. It's even more of a focus in other formats that are much faster and more competitive than Commander, where even a tiny slip up might spell disaster.
If your decks aren't performing as well as you'd like, I highly encourage you to review your decks and check out your mana curve. And when you build a new one, make sure you take these ideas into account! I promise it'll lead to more plays and as a result, more fun.
Look out for more beginner articles from me soon, and if you're looking for cheap and effective decks, check out my other series Brew For Your Buck here on EDHREC. If you have any questions or comments, drop them down below and I'll be sure to address them. Until then, happy deckbuilding and watch out for the curve!
Brian Cain
Brian started playing Magic in 2003, and played occasionally until 2017 when he finally embraced his love for Commander and never looked back. Ratadrabik of Urborg and The Gitrog Monster sit atop the list of his favorite decks, while Dread Return and Faithless Looting are among his favorite cards to cast. Outside of Magic, Brian works as an engineer in the marine industry, turning his love for ships into a career. He loves his growing family, the beach, and D&D
Your opinions are welcome. We love hearing what you think about Magic! We ask that you are always respectful when commenting. Please keep in mind how your comments could be interpreted by others. Personal attacks on our writers or other commenters will not be tolerated. Your comments may be removed if your language could be interpreted as aggressive or disrespectful. You may also be banned from writing further comments.


